Profiles tab
The Profiles tab lets you create profiles and add a background image to the Peer Map.
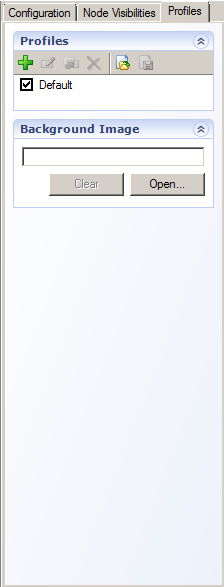
Profiles
The Profiles task pane lets you save Peer Map configuration settings into a single profile that controls the appearance and layout of the Peer Map. The toolbar in the task pane allows you to save, edit, duplicate, delete, import, and export profiles. The settings that make up the profile include:
NOTE: Changes to a Peer Map profile are applied globally to all capture windows using that profile.
• User-applied node visibilities (always shown, always hidden)
• Default node visibility
• User-arranged node locations
• Background image
To enable a profile:
• Select the check box of the desired profile
Background Image
The Background Image task pane lets you apply a background image to the Peer Map. This is useful if you want a more visual representation of the nodes in your Peer Map and your actual network. For example, if you have a graphic image of your network, you can add that image as a background image, and then arrange several key nodes that are experiencing the network problems over the background image to represent their real-world locations. Additionally, you can then hide all uninteresting nodes so that they don’t clutter the arrangement.
To add a background image:
1. Click in the task pane. The Open Image dialog appears.
2. Select the background image, and then click . The image is added to the Peer Map.